• Home
  • Shell
    • Emacs
    • Perl
    • screen
    • sed
  • Ubuntu
    • VNC
  • Web Development
    • Javascript
    • Joomla
    • MySQL
    • osTicket
  • Windows
    • Gimp

Posts tagged automatic

Web Dev> Keep your copyright date current automatically

Jan12
2012
Written by Scott Rowley

Here’s a quick little tip I’ve been using recently with the new year having rolled around. I’ve started replacing all of my © 2011 code with the following. This will always return the date of the current year. That way you don’t have to remember to update it all over the place every time we “celebrate” a new year.

<?php echo date('Y'); ?>

So now I don’t ever have to update this post and the current year should always be reflected here: 2020

Posted in PHP, Web Development - Tagged automagically, automatically, copy, copyright, current, date, echo, php, year

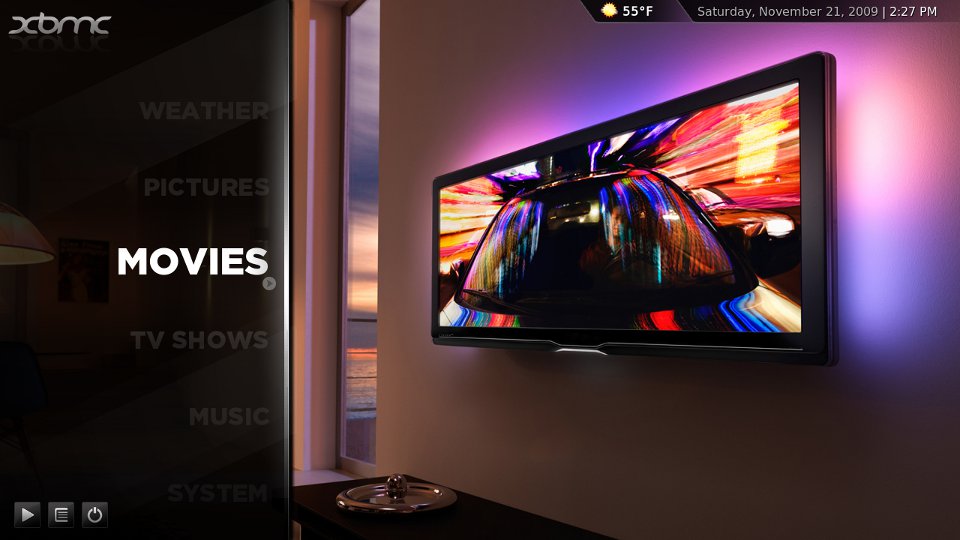
HTPC> Setup Windows 7 as a Media Center with XBMC

May22
2011
Written by Scott Rowley

The following is an article I came up with after setting up my HTPC with XBMC for the 2nd time. I originally had Boxee on it and I do like Boxee — but I just don’t use the online content that much and XBMC is slightly more customization friendly. At any rate — this is what I’ve come up with. If you find it useful, have questions or comments please leave me a message in the comments below the article.


Assumptions: You have Windows 7 installed on a desktop PC.

Download & Install XBMC — http://xbmc.org/download/

Setup XBMC to see your Media

Videos> Add source> Browse> Find & Select Folder containing your Movies
– If you have additional locations click the Add button and then Browse to locate
– Repeat for as many locations as necessary
Once you have all of your Movie paths entered you can navigate down to the bottom and change the name, I recommend “Movies”.
Click OK
Select a “Scraper” to retrieve movie information — For movies you will want to select (Movies) themoviedb.org.
Click OK
Repeat the same steps for TV, selecting the appropriate scraper for TV.
Videos> Highlight “Movies”> Hit “C” and select the “Scan for new content”.
Wait for it to finish adding content then repeat for any other media you added, such as “TV”.

Once you have content you can now change how your Skin looks — I prefer to have “Videos” replaced by “Movies” and “TV Shows”
System> Skin>
– Select “Hide — Videos”
– Deselect “Hide — Movies” and “Hide — TV shows”
– Show/Hide anything else you want to.

Now we’ve got our basic setup completed. If you want a simple setup that you can turn on manually and watch movies/tv you can stop here. If you want a HTPC that will power itself off at night,
turn itself on in the morning, boot straight into XBMC, and can be controlled by your phone — then the rest of this tutorial is for you.

READ MORE »

Posted in Windows - Tagged advancedsettings.xml, auto, bios, boot, control, fullscreen, htpc, movie, music, power, remote, schedule, scheduler, task, television, tv, video, Windows, windows 7, xbmc, xmbc

Corrections? Questions? Comments?

Find an error?
Everything work out great for you?
Have some feedback?
Like to see something added to the article?

PLEASE leave us a comment after the article and let us know how we are doing, or if something needs corrected, improved or clarified.

Thank you!
- The Management

Advertisement

Sudo Bash
By Geeks - For Geeks

Back to Top