• Home
  • Shell
    • Emacs
    • Perl
    • screen
    • sed
  • Ubuntu
    • VNC
  • Web Development
    • Javascript
    • Joomla
    • MySQL
    • osTicket
  • Windows
    • Gimp

Posts tagged control

BASH> Fix vi arrow keys in insert mode

Mar28
2013
Written by Scott Rowley

Full credit to Michael S. Kirkpatrick

The following fix saved my sanity

I prefer using vi as my text editor, because it is clean and simple. I don’t have to go searching for commands from drop-down boxes and other GUI crap. But arrow keys and backspace are sometimes problematic, depending on the OS you’re using. In my case, I frequently ssh from Linux to SunOS, and the SunOS vi doesn’t like my keyboard mappings.

Here is my (partial) solution. Open ~/.exrc and add the following lines. In case it is not obvious, do not type the letters inside brackets, but press those keys instead (i.e., [ctrl-v] means you hold the Ctrl key while pressing v).

— Michael S. Kirkpatrick

:map! [ctrl-v][backspace] [ctrl-v][esc]xa
:map! [ctrl-v][up-arrow] [ctrl-v][esc]ka
:map! [ctrl-v][down-arrow] [ctrl-v][esc]ja
:map! [ctrl-v][right-arrow] [ctrl-v][esc]la
:map! [ctrl-v][left-arrow] [ctrl-v][esc]ha

When you type these in (assuming you’re using vi or vim, these lines will look like this.

:map! ^? ^[xa
:map! ^[OA ^[ka
:map! ^[OB ^[ja
:map! ^[OC ^[ha
:map! ^[OD ^[la
Posted in BASH - Tagged arrow, backspace, ctrl, down, editor, esc, escape, exrc, fix, key, keys, left, map, Michael S. Kirkpatrick, right, up, vi, vim

HTPC> Setup Windows 7 as a Media Center with XBMC

May22
2011
Written by Scott Rowley

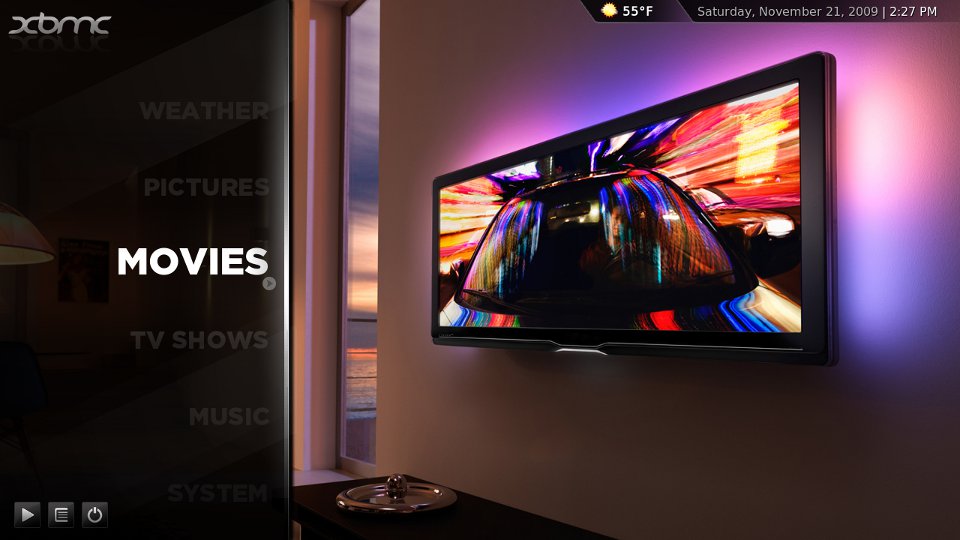
The following is an article I came up with after setting up my HTPC with XBMC for the 2nd time. I originally had Boxee on it and I do like Boxee — but I just don’t use the online content that much and XBMC is slightly more customization friendly. At any rate — this is what I’ve come up with. If you find it useful, have questions or comments please leave me a message in the comments below the article.


Assumptions: You have Windows 7 installed on a desktop PC.

Download & Install XBMC — http://xbmc.org/download/

Setup XBMC to see your Media

Videos> Add source> Browse> Find & Select Folder containing your Movies
– If you have additional locations click the Add button and then Browse to locate
– Repeat for as many locations as necessary
Once you have all of your Movie paths entered you can navigate down to the bottom and change the name, I recommend “Movies”.
Click OK
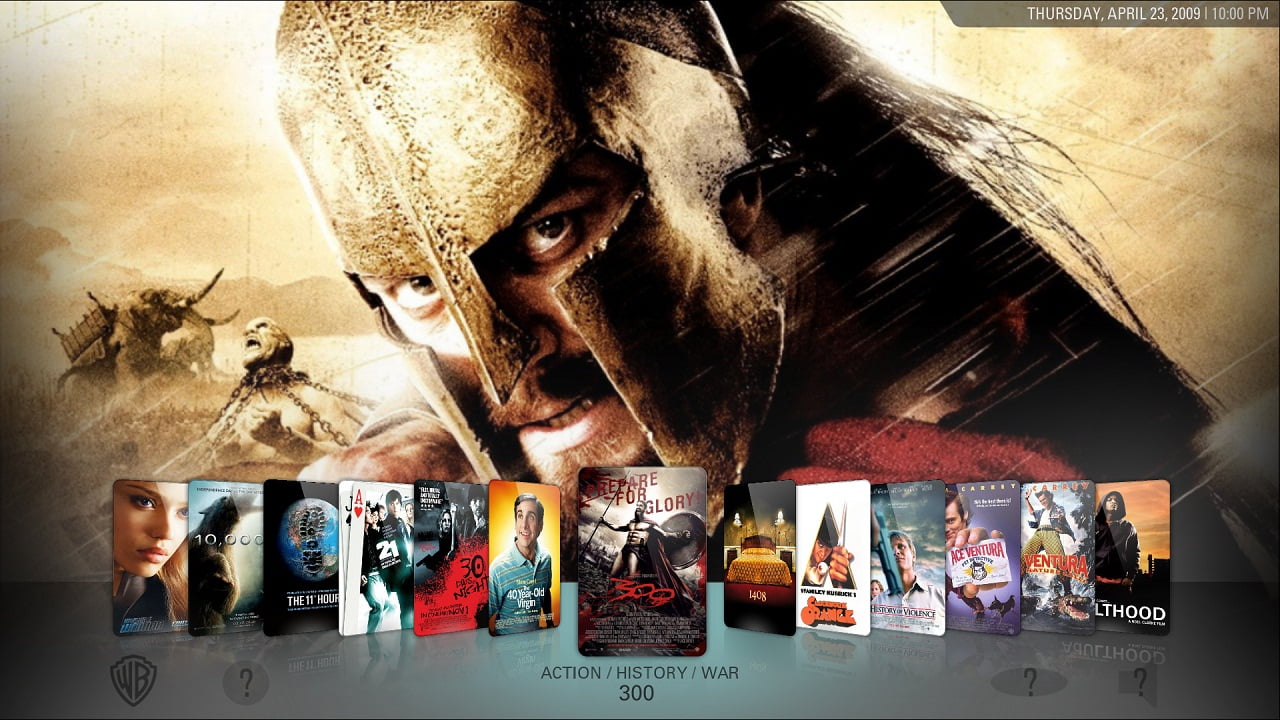
Select a “Scraper” to retrieve movie information — For movies you will want to select (Movies) themoviedb.org.
Click OK
Repeat the same steps for TV, selecting the appropriate scraper for TV.
Videos> Highlight “Movies”> Hit “C” and select the “Scan for new content”.
Wait for it to finish adding content then repeat for any other media you added, such as “TV”.

Once you have content you can now change how your Skin looks — I prefer to have “Videos” replaced by “Movies” and “TV Shows”
System> Skin>
– Select “Hide — Videos”
– Deselect “Hide — Movies” and “Hide — TV shows”
– Show/Hide anything else you want to.

Now we’ve got our basic setup completed. If you want a simple setup that you can turn on manually and watch movies/tv you can stop here. If you want a HTPC that will power itself off at night,
turn itself on in the morning, boot straight into XBMC, and can be controlled by your phone — then the rest of this tutorial is for you.

READ MORE »

Posted in Windows - Tagged advancedsettings.xml, auto, automatic, bios, boot, fullscreen, htpc, movie, music, power, remote, schedule, scheduler, task, television, tv, video, Windows, windows 7, xbmc, xmbc

Corrections? Questions? Comments?

Find an error?
Everything work out great for you?
Have some feedback?
Like to see something added to the article?

PLEASE leave us a comment after the article and let us know how we are doing, or if something needs corrected, improved or clarified.

Thank you!
- The Management

Advertisement

Sudo Bash
By Geeks - For Geeks

Back to Top