
This procedure starts from a fresh install of Ubuntu-Desktop-10.10. This will allow for a graphical interface where none otherwise exists (such as is needed with remote desktop connection). Bear in mind that with VNC you will not have any sound as its not capable (at least not yet)
install xdm, vnc4server, and xinetd.
sudo apt-get install xdm vnc4server xinetd
When asked during installation what the default display manager should be, keep the setting as gdm.
Configure xdm to be able to answer XDMCP requests, comment out the following line in /etc/X11/xdm/xdm-config:
! SECURITY: do not listen for XDMCP or Chooser requests

! Comment out this line if you want to manage X terminals with xdm

!DisplayManager.requestPort: 0
Configure XDM to answer XDMCP requests from localhost, and to listen to just localhost by adding the following lines to /etc/X11/xdm/Xaccess:
localhost

LISTEN localhost
Configure XDM to not bring up a physical display by commenting out the following line in /etc/X11/xdm/Xservers:
#:0 local /usr/bin/X :0 vt7 -nolisten tcp
Configure the startup script to allow XDM to start despite gdm taking care of the screen by removing /etc/X11/default-display-manager:
sudo mv /etc/X11/default-display-manager /etc/X11/default-display-manager.original
emacs /etc/X11/default-display-manager (to contain ONLY the following):
/usr/bin/xdm
Add the VNC port definition to /etc/services if it has not already been added:
vnc 5900/tcp
Configure the VNC incoming port by creating /etc/xinetd.d/vnc:
service vnc
{

     only_from = localhost 192.168.0.1/24

     disable = no

     id = vnc

     socket_type = stream

     protocol = tcp

     wait = no

     user = nobody

     server = /usr/bin/Xvnc4

    server_args = -geometry 1650x950 -inetd -query localhost -once -SecurityTypes=None -pn -fp /usr/share/fonts/X11/misc/,/usr/share/fonts/X11/75dpi/,/usr/share/fonts/X11/100dpi/ -desktop Ubuntu

     log_on_failure += USERID

}
Feel free to modify these options (such as your “only_from” to be your actual network or IP — and geometry to be your desired resolution)
After all these pieces are done, restart the services to load the new configurations:
sudo /etc/init.d/xdm restart

sudo /etc/init.d/xinetd restart
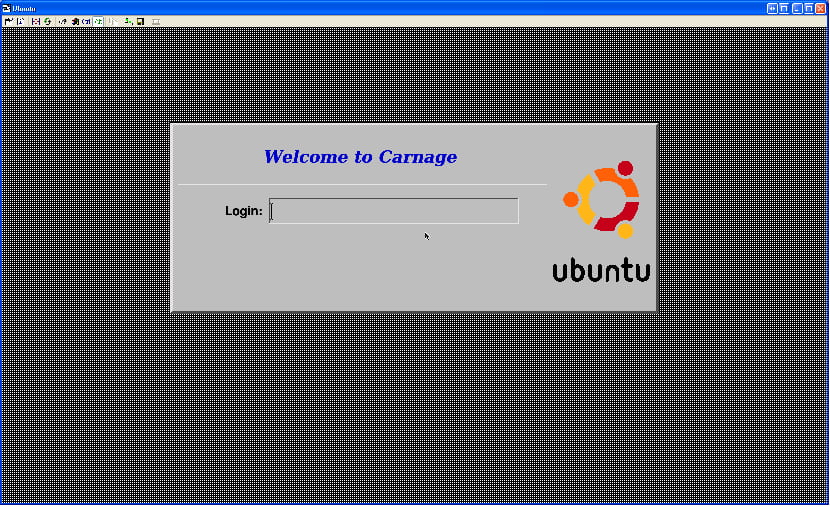
Now you should be able to use VNC to get a login screen.
There is a problem with gnome in this setup where it has a keyboard shortcut assigned to ‘d’, which can be fixed by going into System -> Preferences -> Keyboard Shortcuts and disabling, or reassigning the “Hide all normal windows and set focus to the desktop” shortcut key (source). This may happen because the default key binding is Mod4+D, and there is no Mod4 modifier key on the VNC connection.
Enabling copy/paste
For whatever reason, copy/paste (between host and client) does not work out of the gate here (in my experience) with either tightVNC or realVNC. In order to enable this functionality you will need to do the following:
Enable for THIS session only
Open terminal window (on your Ubuntu box)
su - root (not sudo bash!)
vncconfig &
exit
Note: For some reason the above didn’t work for my co-worker — we then just used the “enable across reboots” below and that worked fine for him. The error message he had received was “No protocol specified”.
Enable across reboots
emacs /etc/X11/Xsession
Just below the PROGNAME=Xsession line add the following:
# Enable copy/paste with vnc sessions
/usr/bin/vncconfig &
If everything worked then you should now have a box on the screen with a few options. You can just minimize this.
This is a moderately modified HowTo of an original article [Sarah Happy]